Single Sign On (SSO) for Azure Virtual Desktop using Microsoft Entra ID
1. Prerequisites:
1. Before installing the Microsoft Entra ID Connect tool, ensure that the member server is domain joined.

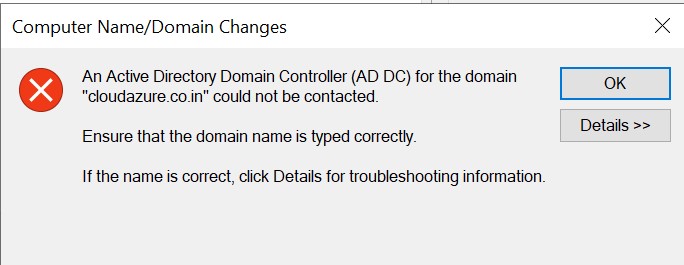
2. The virtual network of the member server should be peered with the virtual network of the domain controller, and the DNS server settings should point to the IP addresses of the domain controller or else during the domain join you may come across the below error:
3. Before downloading and installing the Entra ID Connect tool, ensure that the domain-joined member server has TLS 1.2 enabled. Otherwise, you may encounter the following error when running the tool:

4. Entra ID connect version should be 1.1.819.0 or later.
5. Before running the Entra ID tool, make sure you have two user IDs ready: one with Enterprise Admin access in Active Directory and the other with either the Hybrid Identity Administrator or Global Administrator role in Azure.
6. For SSO to work, the Session Hosts must be running Windows 10/11 Enterprise single or multi-session with the latest updates.
7. For creating Dynamic Device Group in Azure and configuring Conditional Access Policy you would need Microsoft Entra ID P1 or P2 license.
8. Before applying the license to an user, the usage location for the user should be updated in the Entra ID.
2. Enable TLS 1.2:
1. Search for "PowerShell script to enable TLS 1.2" on Google. Click on the Microsoft link. Copy the code.

2. Open the PowerShell inside the server and paste the code and hit Enter.

3. Restart the server.
3. Configure Entra ID connect:
Entra ID Connect (formerly known as Azure AD Connect) is a tool that helps organizations synchronize their on-premises Active Directory with Azure Active Directory (Azure AD). It ensures that user accounts, passwords, and other directory information are consistent between your on-premises system and the cloud. This means that when a user is created or updated in your internal Active Directory, those changes are automatically reflected in Azure AD.
Install Entra ID connect tool on the domain joined member server rather than directly on a domain controller.
1. You can download the Entra ID connect installer from the Microsoft site.


3. Express is the most common option and is used by about 90% of all new installations. It was designed to provide a configuration that works for the most common customer scenarios. Click use Express Settings.

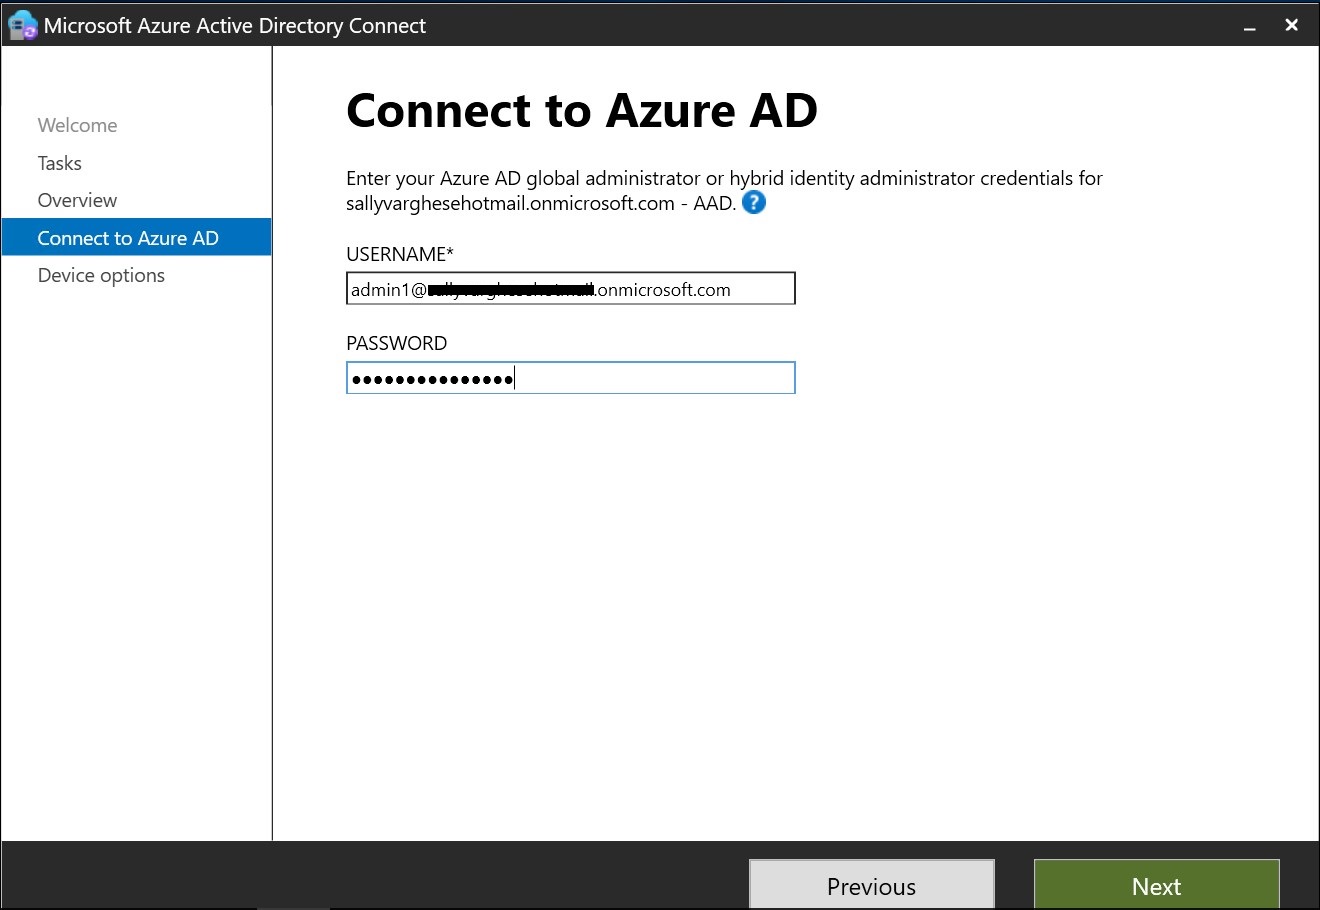
4. Enter the credentials. Click Next.

5. Enter the credentials. Click Next.

6. Click Install.

7. Click Exit.

8. Double click on the Azure AD connect icon on the Desktop. Click on Configure.

9.Select Configure device options. Click Next.

10.Click Next.

11. Enter the credentials. Click Next.
12. Configure Hybrid Azure AD join is selected as Default. Click Next.

13. Select Windows 10 or later domain-joined devices. Click Next.

14.Check the box.

15. From the drop down select Azure Active Directory. Click Add.

16. Enter the credentials. Click OK.

17.Click Next.

18.Click Configure.

19. Click Exit.

20. Entra ID Connect synchronizes with Azure AD every 30 minutes. To speed up the process, you can use the PowerShell command below:

4. Install the Microsoft Graph PowerShell SDK on Azure Cloud Shell:
The Microsoft Graph PowerShell SDK will be required later to enable Microsoft Entra authentication for RDP and to add the Dynamic Device Group to the target device group.
1. Click on the Cloud Shell icon.

2. Click on PowerShell.

3.Select the Subscription. Go with the default option-No storage account required. Click Apply.

4. Run Install-Module Microsoft.Graph -Scope CurrentUser -Repository PSGallery -Force
It will take some time for the process to be completed.

5.After the installation is completed, you can verify the installed version with the following command.
Get-InstalledModule Microsoft.Graph

5. Enable Microsoft Entra authentication for RDP:
First, enable Microsoft Entra authentication for Windows in your Microsoft Entra tenant. This allows users to get RDP access tokens and sign in to your Azure Virtual Desktop session hosts.
1. Import-Module Microsoft.Graph.Authentication
Import-Module Microsoft.Graph.Applications
Connect-MgGraph -Scopes "Application.Read.All",
"Application-RemoteDesktopConfig.ReadWrite.All" 2. It will ask you to authenticate by entering the code in the browser. Do it.


3. $MSRDspId = (Get-MgServicePrincipal -Filter "AppId eq 'a4a365df-50f1-4397-bc59-1a1564b8bb9c'").Id
$WCLspId = (Get-MgServicePrincipal -Filter "AppId eq '270efc09-cd0d-444b-a71f-39af4910ec45'").Id

4. If ((Get-MgServicePrincipalRemoteDesktopSecurityConfiguration -ServicePrincipalId $MSRDspId) -ne $true) {
Update-MgServicePrincipalRemoteDesktopSecurityConfiguration -ServicePrincipalId $MSRDspId -IsRemoteDesktopProtocolEnabled
}
If ((Get-MgServicePrincipalRemoteDesktopSecurityConfiguration -ServicePrincipalId $WCLspId) -ne $true) {
Update-MgServicePrincipalRemoteDesktopSecurityConfiguration -ServicePrincipalId $WCLspId -IsRemoteDesktopProtocolEnabled
}

5. Get-MgServicePrincipalRemoteDesktopSecurityConfiguration -ServicePrincipalId $MSRDspId
Get-MgServicePrincipalRemoteDesktopSecurityConfiguration -ServicePrincipalId $WCLspId

6. Create a Dynamic Device Group:
1. Go to Microsoft Entra ID in the Azure Portal ->Groups.

2. Click on New Group.

3. Group Type is Security.
Give a suitable name.
Enter the description if needed.
Default is No. Leave as is.
Select Dynamic Device in Membership type.

4. Add Owners if required.
Click on Add dynamic query.

5. Click on +Add expression. You can add the desired expression as per Customer Requirement or follow the one mentioned below.
Basically it says any Windows device with OS version 10.0.2 will be part of this dynamic group.
Click Save.

6. Click on Create.


7. Add the Dynamic Device Group to the target device group:
1. In the same PowerShell session, create a targetDeviceGroup object by running the following commands:
$tdg = New-Object -TypeName Microsoft.Graph.PowerShell.Models.MicrosoftGraphTargetDeviceGroup
$tdg.Id = "8cf2c0f7-2a4e-44c6-a17b-66fae647e988"
$tdg.DisplayName = "AVD-SSO-Device-Group"

2. Add the group to the targetDeviceGroup object by running the following commands:
New-MgServicePrincipalRemoteDesktopSecurityConfigurationTargetDeviceGroup -ServicePrincipalId $MSRDspId -BodyParameter $tdg
New-MgServicePrincipalRemoteDesktopSecurityConfigurationTargetDeviceGroup -ServicePrincipalId $WCLspId -BodyParameter $tdg

8. Create a Kerberos Server object:
1. To create a Microsoft Entra Kerberos server object in the on-premises directory we need to use the AzureADHybridAuthenticationManagement module.
2. You can install the AzureADHybridAuthenticationManagement module on any computer from which you can access your on-premises Active Directory Domain Controller.
3. Open a PowerShell prompt using the Run as administrator option and run the below command:
# First, ensure TLS 1.2 for PowerShell gallery access.
[Net.ServicePointManager]::SecurityProtocol = [Net.ServicePointManager]::SecurityProtocol -bor [Net.SecurityProtocolType]::Tls12
# Install the AzureADHybridAuthenticationManagement PowerShell module.
Install-Module -Name AzureADHybridAuthenticationManagement -AllowClobber

4. Say Yes and then Yes to All.

5. Kerberos Server object will be created in this Active Directory domain.
$domain = $env:USERDNSDOMAIN

6. Enter an Azure Active Directory Global Administrator username and password.
$cloudCred = Get-Credential -Message 'An Active Directory user who is a member of the Global Administrators group for Azure AD.'


7. Enter a Domain Administrator username and password.
$domainCred = Get-Credential -Message 'An Active Directory user who is a member of the Domain Admins group.'


8. Create the new Azure AD Kerberos Server object in Active Directory and then publish it to Azure Active Directory.
Set-AzureADKerberosServer -Domain $domain -CloudCredential $cloudCred -DomainCredential $domainCred

9. View and verify the Microsoft Entra Kerberos server

Enter the credentials when prompted.

9. How to Assign a License to an user:
1. While assigning License to an user, I got an error message:

3. Go to the users tab in Entra ID. Search for the user and click on the username.

4. Click on Edit Properties.
5. Go to Settings->Usage Location.
6. Click on Save.

7. Once the location is updated, please go to the Licenses tab in Entra ID.
Note: Starting on September 01, 2024, license assignment will only be available in the Microsoft 365 Admin Center.

8. Click on All products. Click on the P1 or P2 license.

9.Click on Assign tab and assign the licenses accordingly.

10. Create a Conditional Access Policy:
1. Go to the Entra ID overview page, under Manage tab click on Security.

2. Click on Conditional Access.

3. Click on +Create new policy.

4. Give a meaningful name.
5. Under Assignments > Users, select 0 users and groups selected.
6. Under the Include tab, select Select users and groups and check Users and groups, then under Select

7. Under Assignments > Target resources, select No target resources selected. Under the Include tab, select Select apps, then under Select, select None.
8. Add three apps:
- Azure Virtual Desktop (app ID 9cdead84-a844-4324-93f2-b2e6bb768d07)
- Microsoft Remote Desktop (app ID a4a365df-50f1-4397-bc59-1a1564b8bb9c)
- Windows Cloud Login (app ID 270efc09-cd0d-444b-a71f-39af4910ec45)

11. Under Client apps, select Not configured.
12. On the new pane that opens, for Configure, select Yes.
13. Select the client apps this policy applies to:
- Select Browser if you want the policy to apply to the web client.
- Select Mobile apps and desktop clients if you want to apply the policy to other clients.

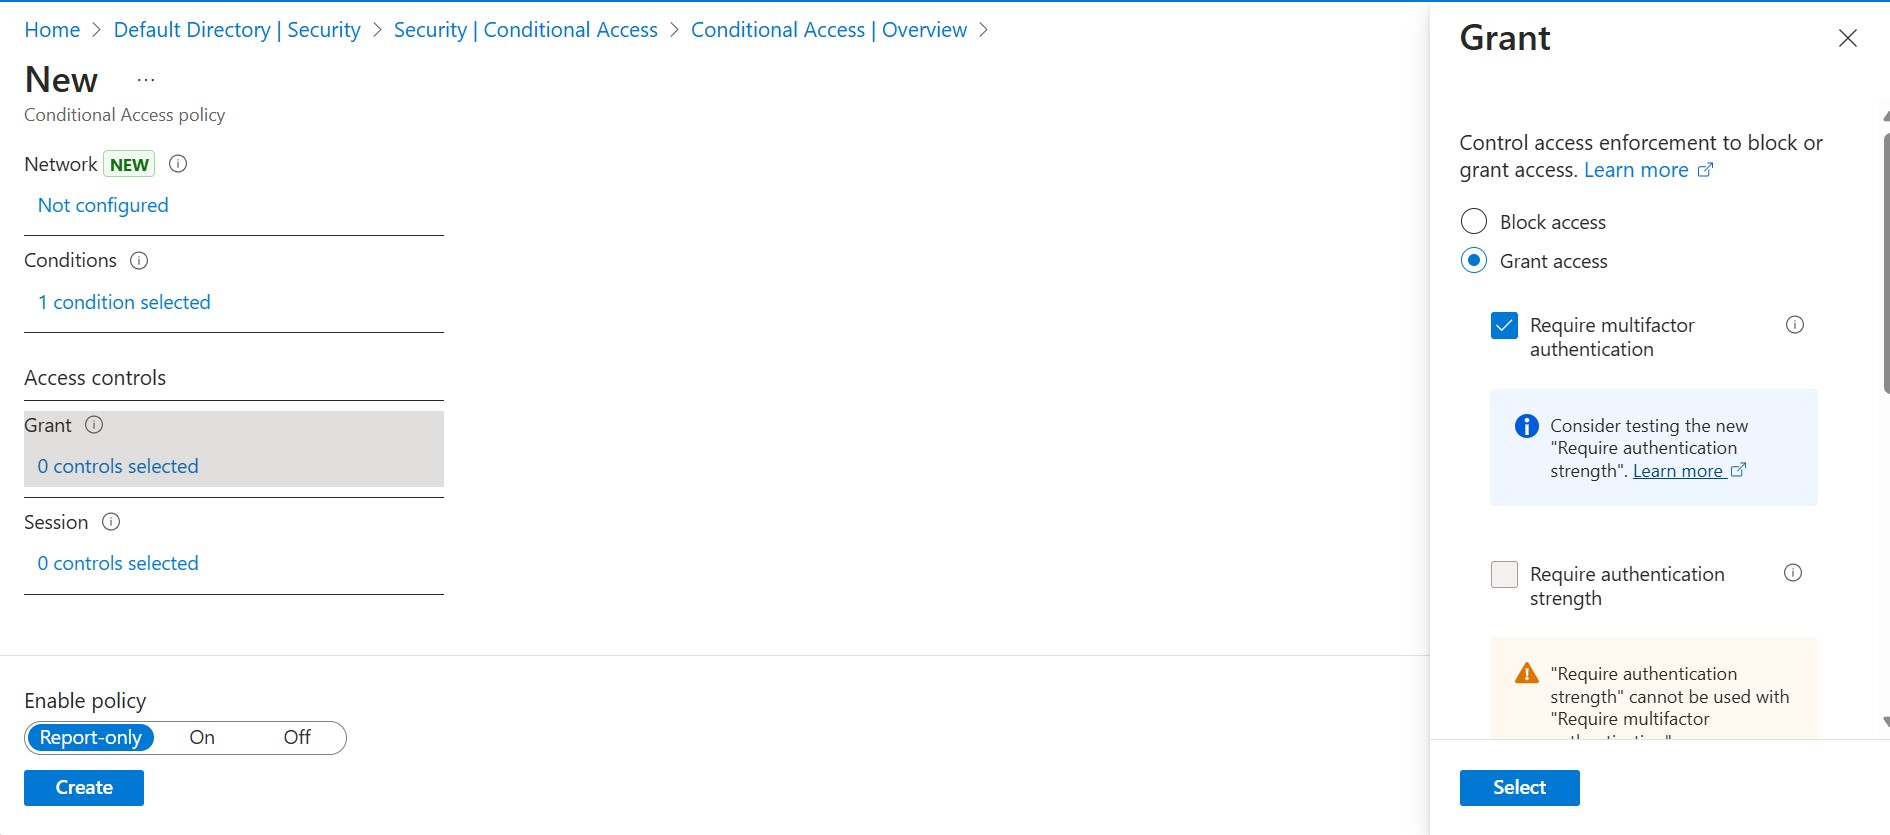
15. Under Access controls > Grant, select 0 controls selected.
16. On the new pane that opens, select Grant access.
17. Check Require multifactor authentication, and then select Select.

11. Configure host pool to enable single sign-on:
1.Go to the RDP properties of the Host pool.
2. Under Connection information: For Microsoft Entra single sign-on: Select Connections will use Microsoft Entra authentication to provide single sign-on
3. Click Save.

12. Post-configuration checks:
1. Since one of the prerequisite for SSO is to have Entra Hybrid joined machines, after the configurations, go to the Entra ID page and go to Devices.
All the devices that you have created should appear here.


13. Testing:
1. When the User1 clicks on Subscribe, he gets the username password field which is an expected behavior.
2. Since we have enabled MFA, its prompting to setup MFA


3. Since Single Sign-On is configured, clicking on the Session Desktop does not prompt for credentials again but directly logs us into the desktop.

4. The SSO configuration is working as expected.